Once you have your dream piercing(s), learn the best ways to take care of it.
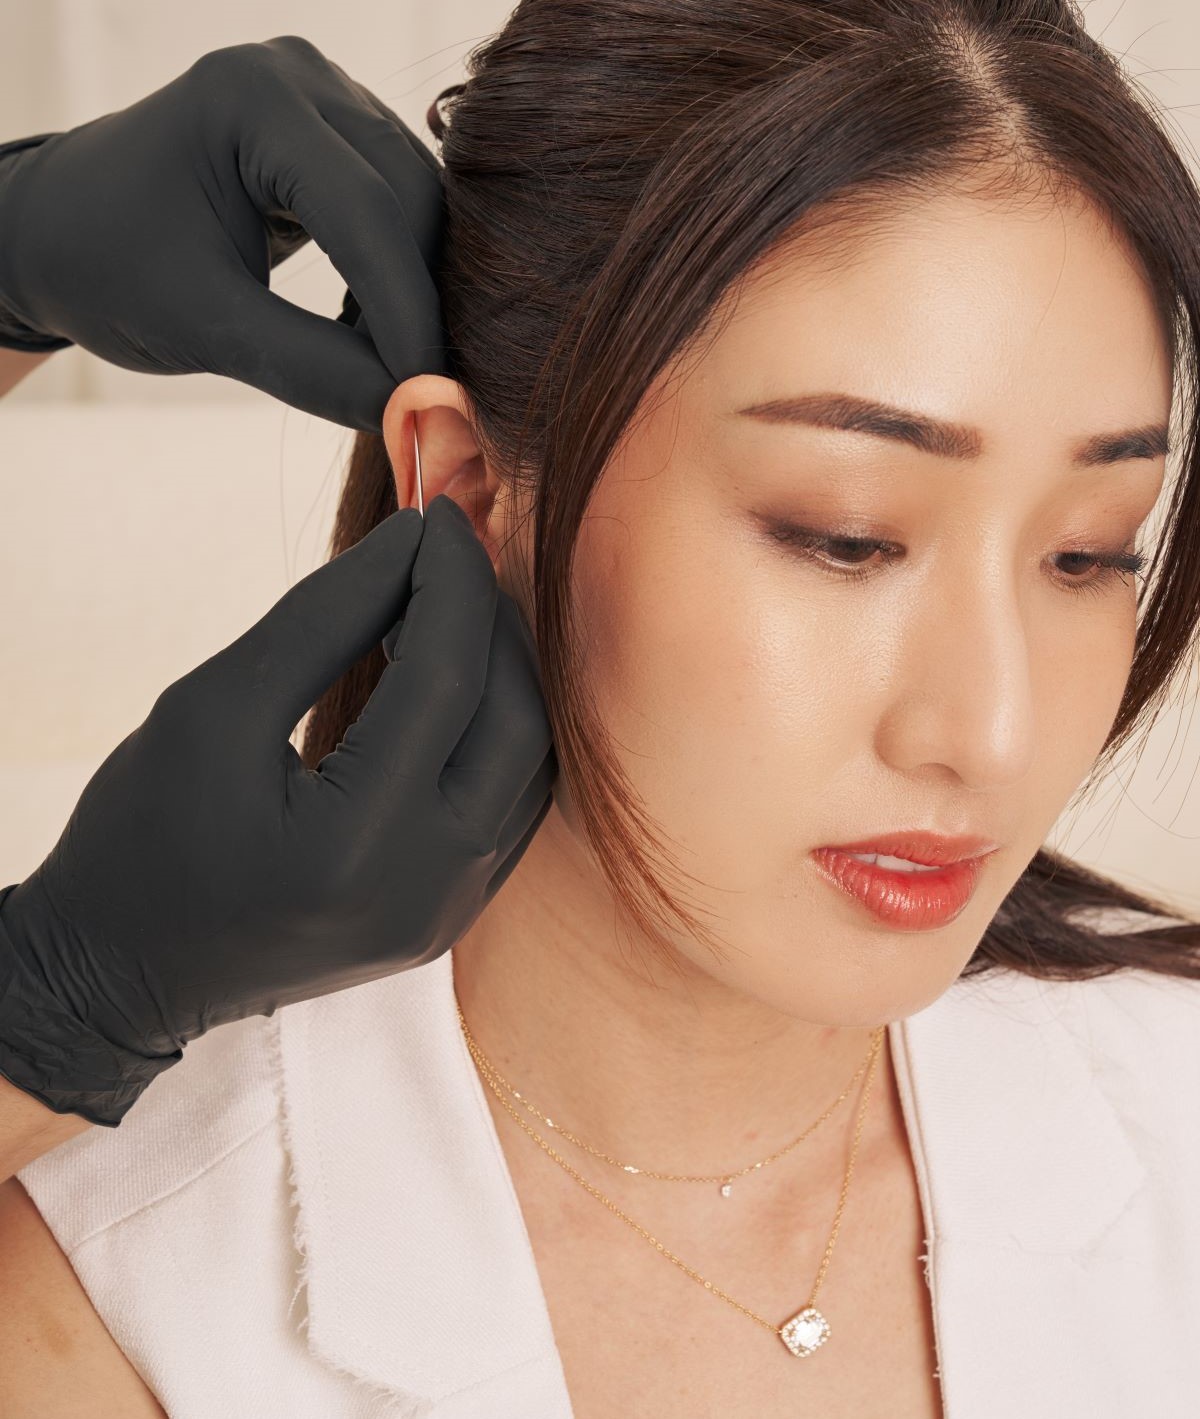
A compression technique for cartilage piercings will be taught by our piercer after the procedure. Do follow instructions and apply the compression technique up to 2 times a day, after showering.
We've put together a little guide here, from cleaning instructions to lifestyle adjustments to ensure that your piercing heals properly without any unnecessary discomfort.
The approximate healing time for an earlobe piercing is 2 to 4 months, and a cartilage piercing is 6 to 12 months. Everyone heals at a different rate but whether or not you follow your aftercare can shorten or lengthen the healing process.
During the healing process, the jewelry may not move freely in the piercing; do not force it. Don’t change out or remove your jewelry until your piercing is healed. If you have questions, check with our piercer.
Please note that these are suggested guidelines based on a combination of vast professional experience, common sense, and research. This is not to be considered a substitute for medical advice from a doctor. If you think you have an infection or symptoms such as excessive swelling, soreness, redness or pus, please seek medical attention immediately.
01 CLEANING INSTRUCTIONS
- Clean your piercing gently, once to twice a day until it is fully healed.
- Soak a non-woven sterile gauze with sterile saline solution or sterile saline spray as a gentle compress for 5 to 10 minutes each time.
- Use only sterile saline solutions with NO additives for cleaning.
- Do not clean your piercing with harsh products such as Dettol, Betadine, alcohol, Neosporin, or Bactine as these products could cause irritation.
- Wash your hands thoroughly before cleaning your piercing. A piercing is an open wound and dirty hands or fingernails can transfer bacteria.
- Moisture can lead to bacteria growth. Dry the area well with sterile non-woven gauze or using the cold setting on a hairdryer.
________________
02 TIPS & BEST PRACTICES
- Avoid overcleaning.
- Do not remove your jewelry during the healing process as it will begin to close immediately.
- Do not turn or rotate your jewelry, it is not necessary.
- Refrain from putting body creams, makeup, moisturizers, and perfumes directly on the piercing.
- In the shower, try to keep soaps or shampoos away from the area and rinse thoroughly after.
- Do not pull or pick the dried matter because it is attached to the healing tissue.
- Be cautious while washing and styling your hair, when putting on or removing clothing, and refrain from sleeping on a fresh piercing.
- Avoid sleeping on your piercing. If needed, sleep between 2 pillows and suspend your ear in between the gap. You'll be surprised that this seems trivial but it can cut off blood circulation in your ear and cause an infection in your new piercings.
- Avoid swimming or submerging the piercing in bodies of water as water may contain bacteria that interferes with the healing process.
- Stay healthy. The healthier your lifestyle, the easier it will be for your piercing to heal. Get enough sleep and eat a nutritious diet high in Vitamin C and Zinc. Exercise during the healing is fine, but remember to keep your piercing clean and dry.
- Avoid seafood such as oysters, crabs, shrimps and raw seafood as they are known to carry a high risk of bacterial infections, which can easily spread to the piercing site.
- Make sure your bedding is washed and changed regularly.
________________
03 WHAT IS NORMAL?
- It varies from one person to another.
- Within the first few weeks: Some bleeding, localized swelling, tenderness, bruising or mild pain.
- Within the first 2-4 months: Some discoloration, itching, and secretion of a whitish-yellow fluid (not pus) that may form some crust on the jewelry can occur. You skin may tighten around the jewelry as it heals.
- Once healed: The jewelry may not move freely in the piercing; DO NOT force it. If you fail to include cleaning your piercing as part of your daily hygiene routine, normal but stinky bodily secretions may accumulate.
- A piercing may seem healed before the healing process is complete. This is because tissue heals from the outside in, and although it feels fine, the interior remains fragile. BE PATIENT and keep cleaning throughout the entire healing period.
- Even healed piercings can shrink or close in minutes after having been there for years! This varies from person to person; if you like your piercing, keep the jewelry in! Do not leave it empty.
- If your jewelry feels loose, book a follow up appointment to come in for a downsize.
________________
04 HOW TO COPE WITH SWELLING
*At any point if you experience excessive swelling, soreness, redness or pus, please seek medical attention immediately*
- Non-steroidal anti-inflammatory products such as Ibuprofen (Advil, Motrin, etc.) may help minimize swelling during the healing period.
- Icing the piercing site with an ice pack / clean ice wrapped in sterile gauze can help reduce swelling during the initial stages of healing.
- Try a compression technique:
i. Cold Compress
Apply ice during the first forty-eight hours to help reduce the discomfort, swelling, bleeding, and bruising that can accompany a fresh piercing. Use a clean zip-top bag containing chipped ice, cubes, or frozen peas or blueberries. You can add a bit of water inside to help the contents conform to your body more comfortably. Wrap the baggie in a clean paper or cloth towel and replace soggy coverings with dry ones as condensation wets them. Too much moisture can disrupt a fresh scab resulting in prolonged bleeding. Place the ice pack on your piercing for ten minutes and remove it for forty-five minutes to an hour before reapplying. Follow instructions carefully; icing too long can cause tissue damage (ice burn) and reduced blood flow, which slow the healing process.
ii. Warm CompressAfter the first forty-eight hours, if initial bleeding has stopped, you may begin using warm compresses. They can feel soothing, diminish swelling, and stimulate circulation. Heat causes an influx of oxygenated blood, which brings in more nutrients to help repair injured tissues and flush out debris. Warm compresses can be dry or moist.
iii. Moist Compress
Wash your hands and soak a clean washcloth, paper towel, or lint-free gauze in hot—but not scalding—water. Use a sterile saline spray. Heating it in a microwave is fine. If possible, check the water temperature with a thermometer. It should be no hotter than 48°C. Wring out the compress and apply it until it no longer feels warm, then reheat and reapply. Repeat for fifteen to twenty minutes, up to two times daily.A simple option is to spray saline onto gauze squares, heat until warm to the touch in a microwave, and apply. Research shows that a moist healing environment helps prevent cell dehydration and death and improves the rate of epithelialization (skin cell growth) and other aspects of wound healing, along with the cosmetic outcome. Another method is to use a foil-wrapped sterile saline wipe, run the sealed packet under hot water, remove the warm pad, and apply it.
iv. Dry Compress
Pop a paper-wrapped packet of two sterile gauze squares in the microwave for about thirty seconds, open carefully, and apply. Alternatively, place a wet compress inside a zip-top baggie. You can also use a hot water bottle, microwavable heating bag, electric heating pad, or another type of commercially available hot pack. Follow package instructions for use.Whether moist or dry, cover your compress with a folded dry towel to help maintain the warmth longer.
Following the application of heat or cold, your skin should look pink, not bright red, and never blistered! When finished, gently pat the area dry with a clean paper towel, tissue, or gauze.